

Knox
Use the following steps to enable the Ranger Knox plugin.
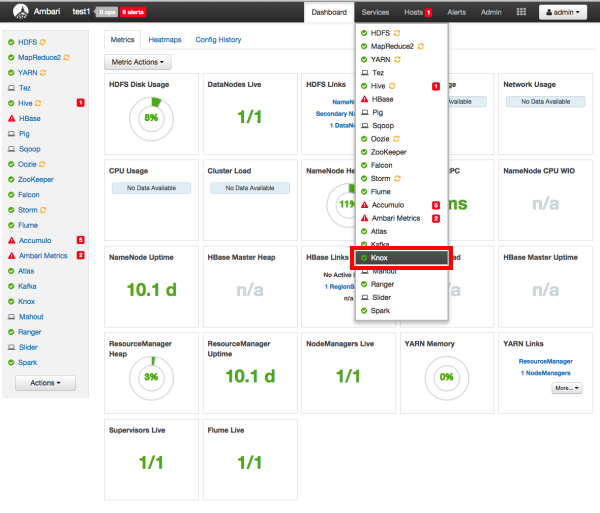
Select Knox from the Services tab in the top menu.
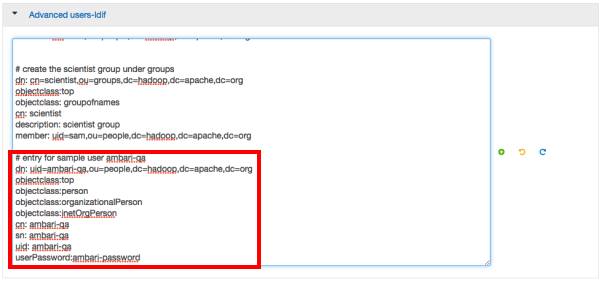
Click the Configs tab, then scroll down and click to open the Advanced users-ldif text box. Scroll down to the bottom of the text box and add the following lines of code:
# entry for sample user ambari-qa
dn: uid=ambari-qa,ou=people,dc=hadoop,dc=apache,dc=org
objectclass:top
objectclass:person
objectclass:organizationalPerson
objectclass:inetOrgPerson
cn: ambari-qa
sn: ambari-qa
uid: ambari-qa
userPassword:ambari-password
For example:
Click the Configs tab, then click the Advanced tab. Scroll down and click to open Advanced ranger-knox-plugin-properties.
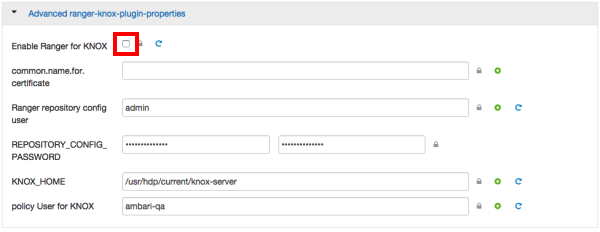
Select the Enable Ranger for KNOX check box. A Warning pop-up appears. Click Apply to save the property updates.
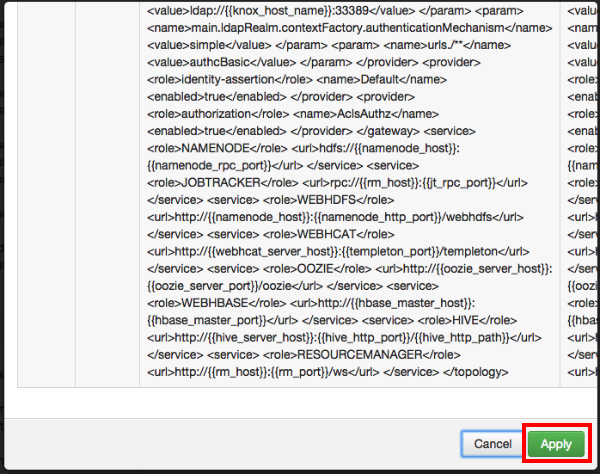
To save the configuration, click the green Save button on the black menu bar at the top of the page.
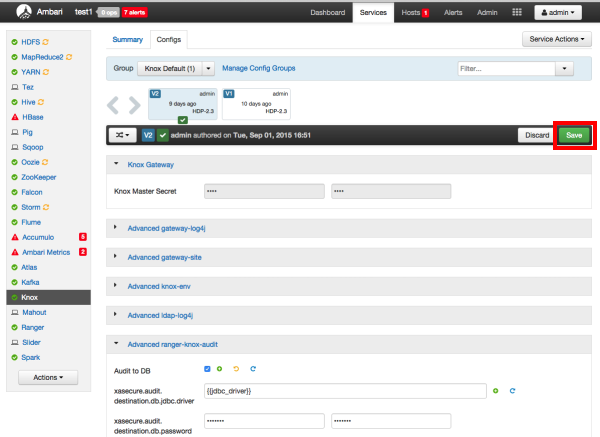
A Save Configuration pop-up appears. Type in a note describing the changes you just made, then click Save.

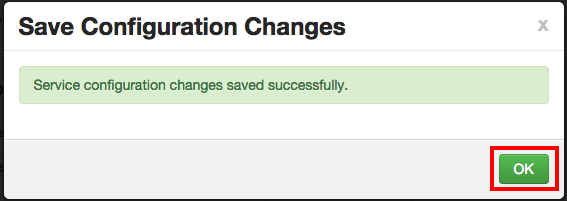
Click OK on the Save Configuration Changes pop-up.
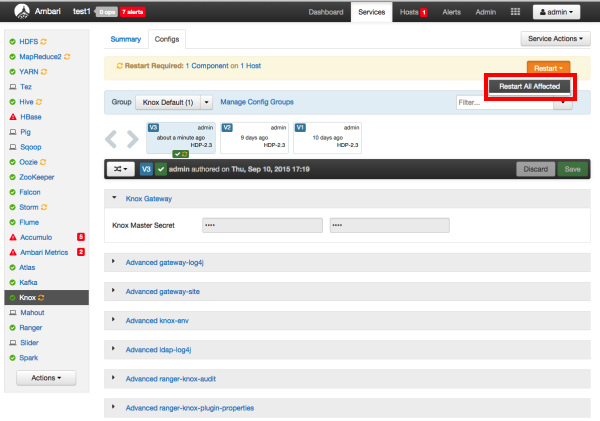
A Restart Required message will be displayed at the top of the page. Click Restart, then select Restart All Affected to restart the Knox service and load the new configuration.
Click Confirm Restart All on the confirmation pop-up to confirm the Knox restart.
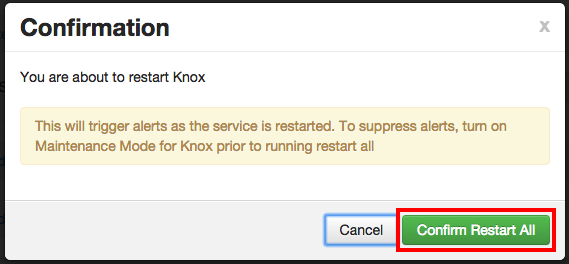
After Knox has been restarted, the Ranger plugin for Knox will be enabled.